How-to: Add Images to Your Fundraiser
Learn the benefits of adding images to your Campaign and find out how to add them to different areas.
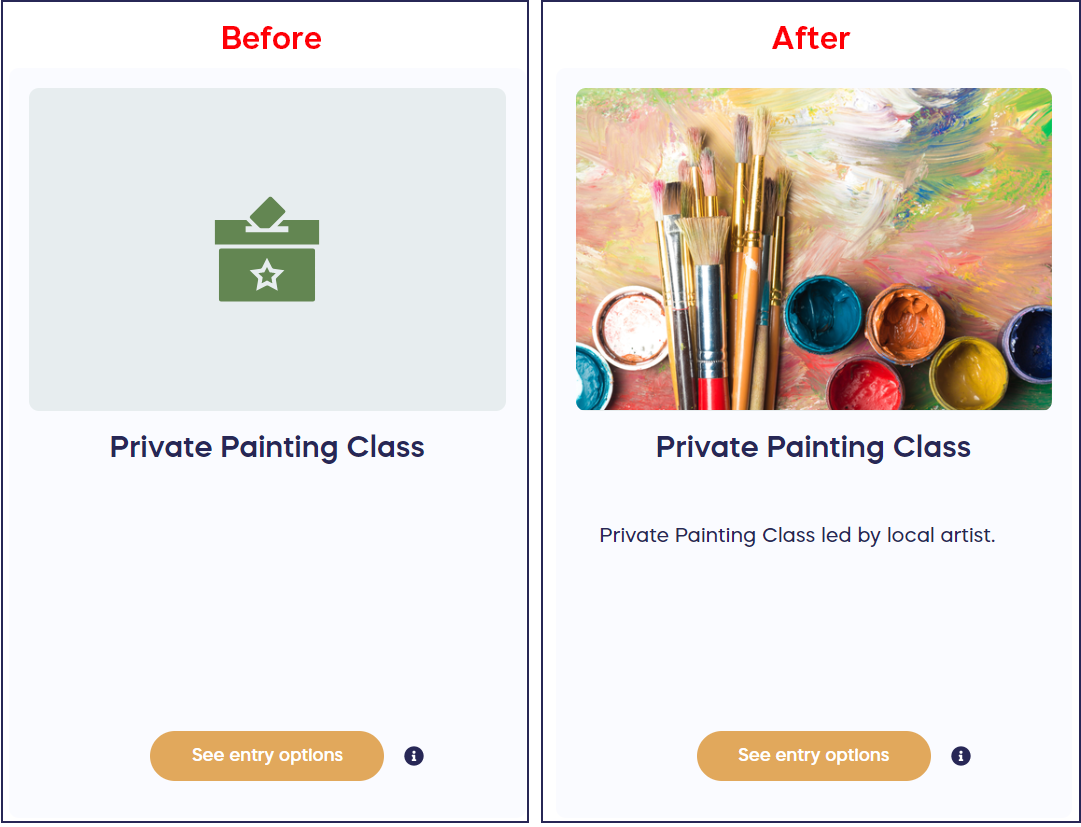
There are several places where you can add images to liven up your RallyUp fundraiser. Adding images or graphic illustrations can help you quickly convey complex ideas, demonstrate your organization's positive effect, and enhance the emotional impact of your message.
See how the fundraiser below drives its core messaging home, making items look more appealing using images.

You can add multiple images to the following areas:
- Campaign banner (two options)
- Campaign description
- Raffle, Sweepstakes, and Auction prizes
- Event tickets
- Sale items
- Crowdfunding Perks
- Peer-to-Peer registration types
- Sponsor listings
- Donation Page banner
- Donation Page Fund options
You can add images in JPEG or PNG format. Image files should be no larger than 20 MB. Read on for instructions on how to add images to each area.
Campaign Banner
- Go to Campaigns in the left menu.
- If you have chosen a list view, click on the Campaign title. If you have chosen a grid view, click on the Campaign image.
- Select Campaign Setup.
- Go to Page Design in the timeline at the top.
- Scroll down to Add images and videos to your Campaign Page.
- Select ADD IMAGE.
- Select the image from your files.
- If you like, crop the image by moving the magnification bar from left to right.
- Select Upload.
Add as many images to your banner as you would like by selecting ADD IMAGE again and repeating steps 7-9.
You can change the order of the images by clicking and dragging:
When donors visit your Campaign Page, the banner images will scroll automatically.
Campaign Description
- Go to Campaigns in the left menu.
- If you have chosen a list view, click on the Campaign title. If you have chosen a grid view, click on the Campaign image.
- Select Campaign Setup.
- Go to Page Design in the timeline at the top.
- Scroll down to Share a compelling Campaign description.
- Type or paste your Campaign description, then put your cursor where you would like the image to be placed. You can put the image above, below, or within the text.
- Select the Image icon in the toolbar, then select Drop image.
- Select the image from your files.
- After the image loads, click on the image to bring up the Image toolbar. You can use this to make any desired edits, including resizing, aligning the image right, left, or center, wrapping text around the image, and more:
Raffle and Sweepstakes Prizes
The recommended image size is 1480x1000px and no more than 20 MB.
- Go to Campaigns in the left menu.
- If you have chosen a list view, click on the Campaign title. If you have chosen a grid view, click on the Campaign image.
- Select Campaign Setup.
- Go to Raffle/Sweepstakes in the timeline at the top.
- Scroll down to Add prizes.
- Select Create a Prize, or select the Edit symbol (pencil) to add an image to an existing prize.
- Select Upload images:
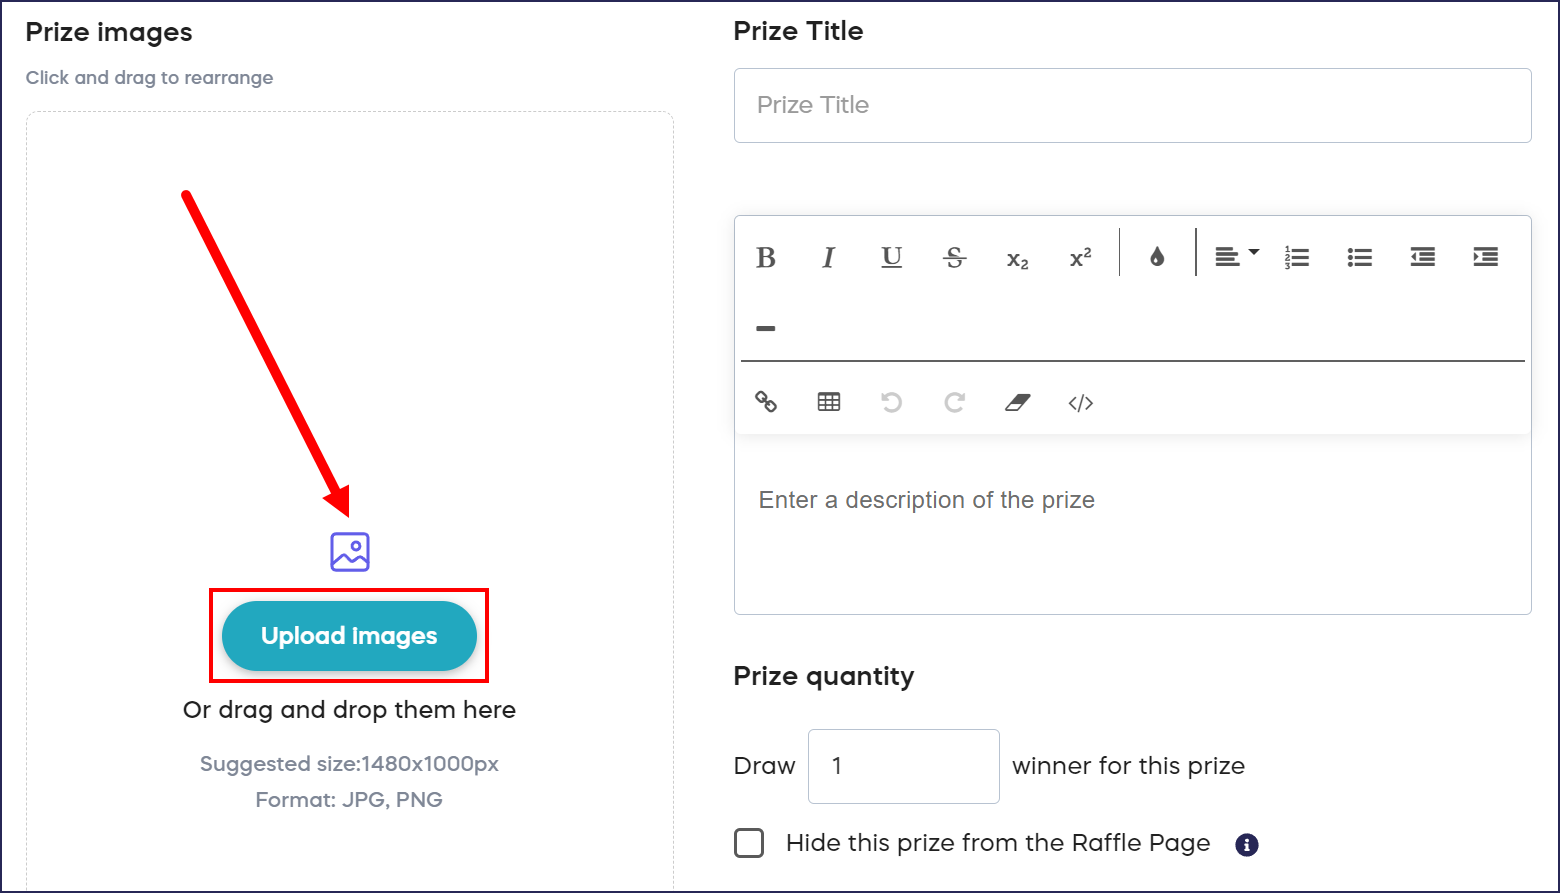
- Select an image from your files. You can also add multiple images and click and drag the images to arrange them in your preferred order. The first image will be the default display image:
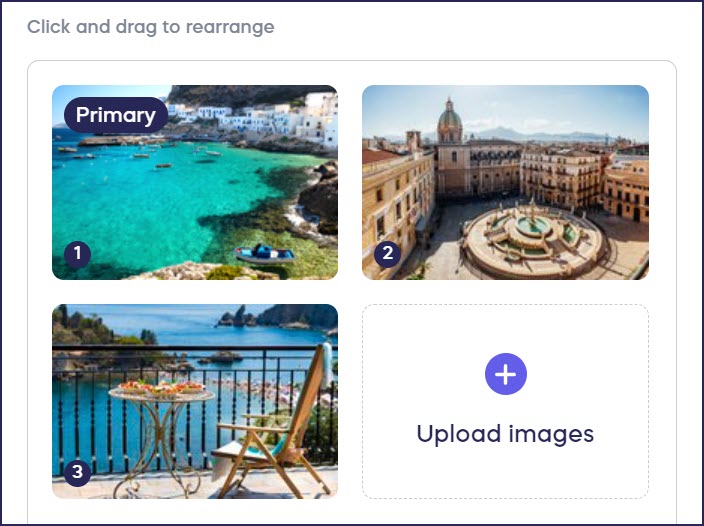
When donors visit your Campaign Page, they can click on the arrows to manually scroll through all images:

- Select Save.
Event Tickets and Packages
The recommended image size is 1480x1000px and no more than 20 MB.
- Go to Campaigns in the left menu.
- If you have chosen a list view, click on the Campaign title. If you have chosen a grid view, click on the Campaign image.
- Select Campaign Setup.
- Go to Event in the timeline at the top.
- Scroll down to Add tickets/packages.
- Select Create a ticket/package, or select the Edit symbol (pencil) to add an image to an existing ticket/package.
- Select Upload images:
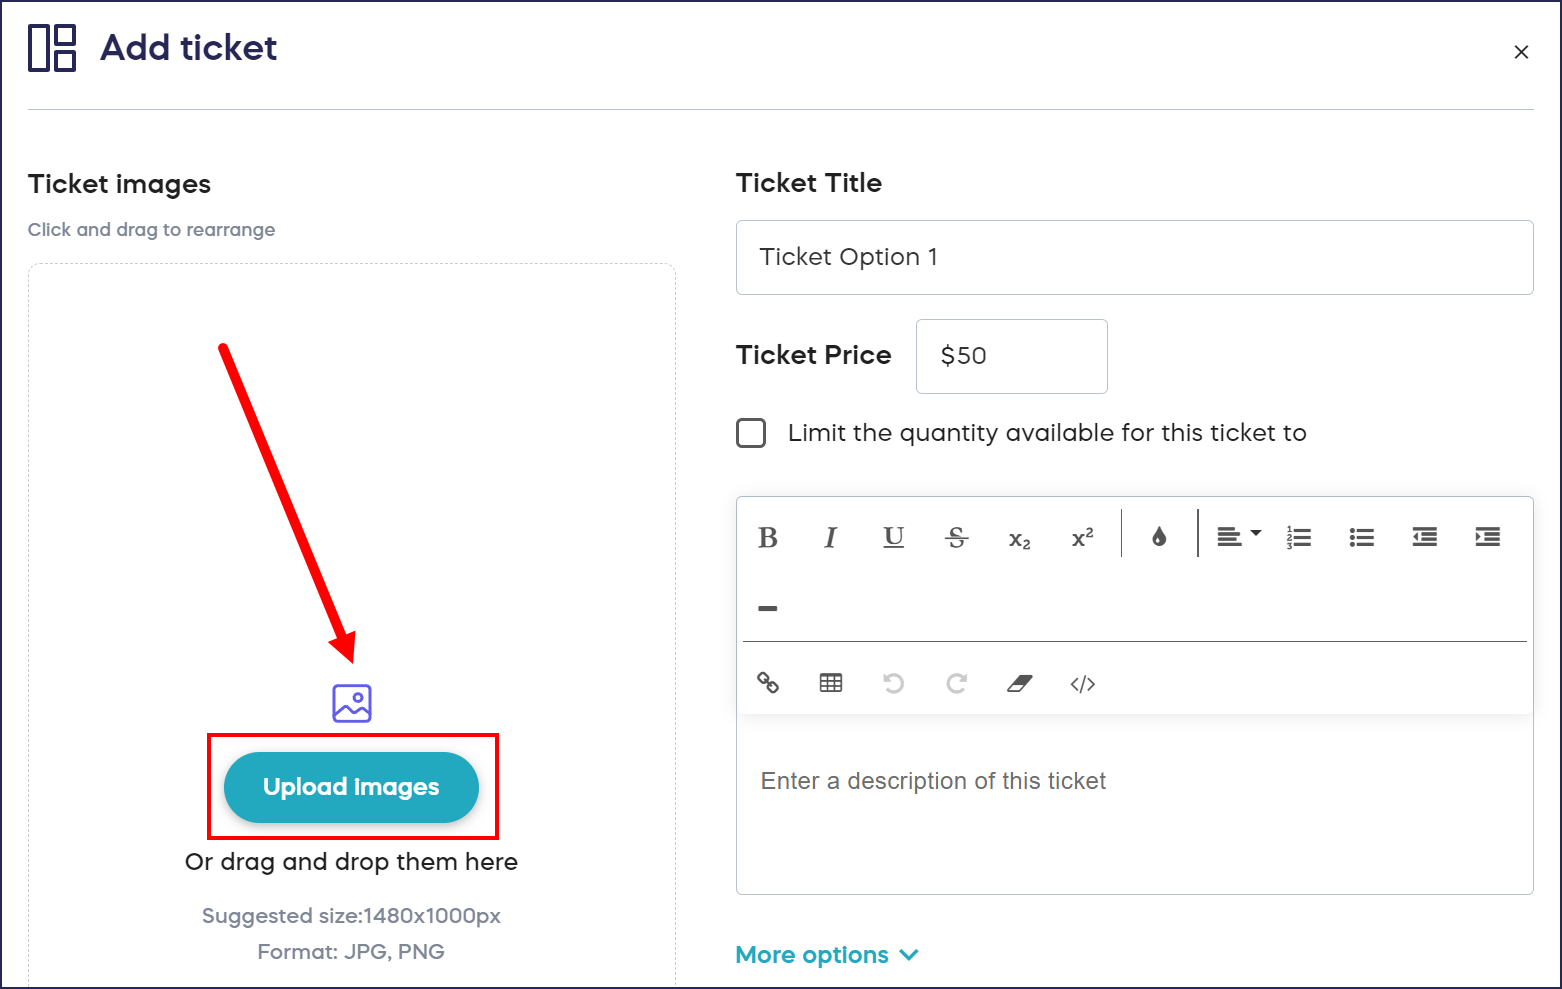
- Select an image from your files. You can also add multiple images and click and drag the images to arrange them in your preferred order. The first image will be the default display image:
When donors visit your Campaign Page, they can click on the arrows to manually scroll through all images:
- Select Save.
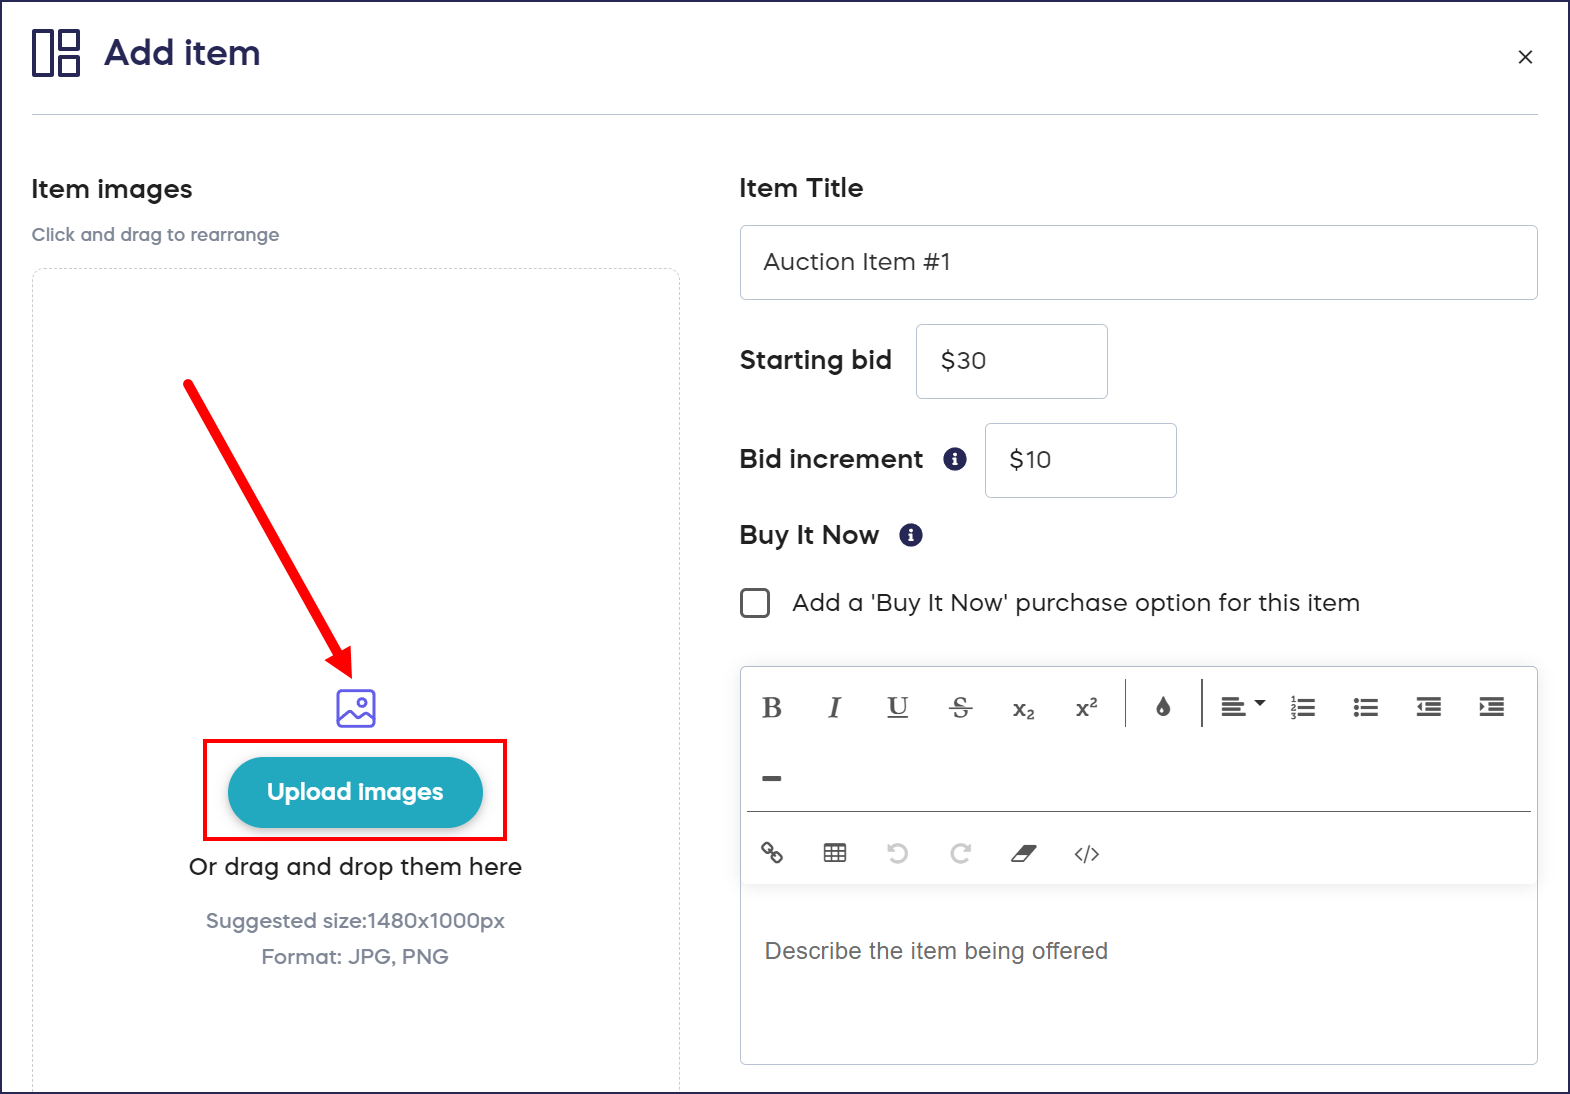
Auction and Sale Items
The recommended image size is 1480x1000px and no more than 20 MB.
- Go to Campaigns in the left menu.
- If you have chosen a list view, click on the Campaign title. If you have chosen a grid view, click on the Campaign image.
- Select Campaign Setup.
- Go to Auction/Sale in the timeline at the top.
- Scroll down to Add items.
- Select Create an item, or select the Edit symbol (pencil) to add an image to an existing item.
- Select Upload images:
- Select an image from your files. You can also add multiple images and click and drag the images to arrange them in your preferred order. The first image will be the default display image:
When donors visit your Campaign Page, they can click on the arrows to manually scroll through all images:
- Select Save.
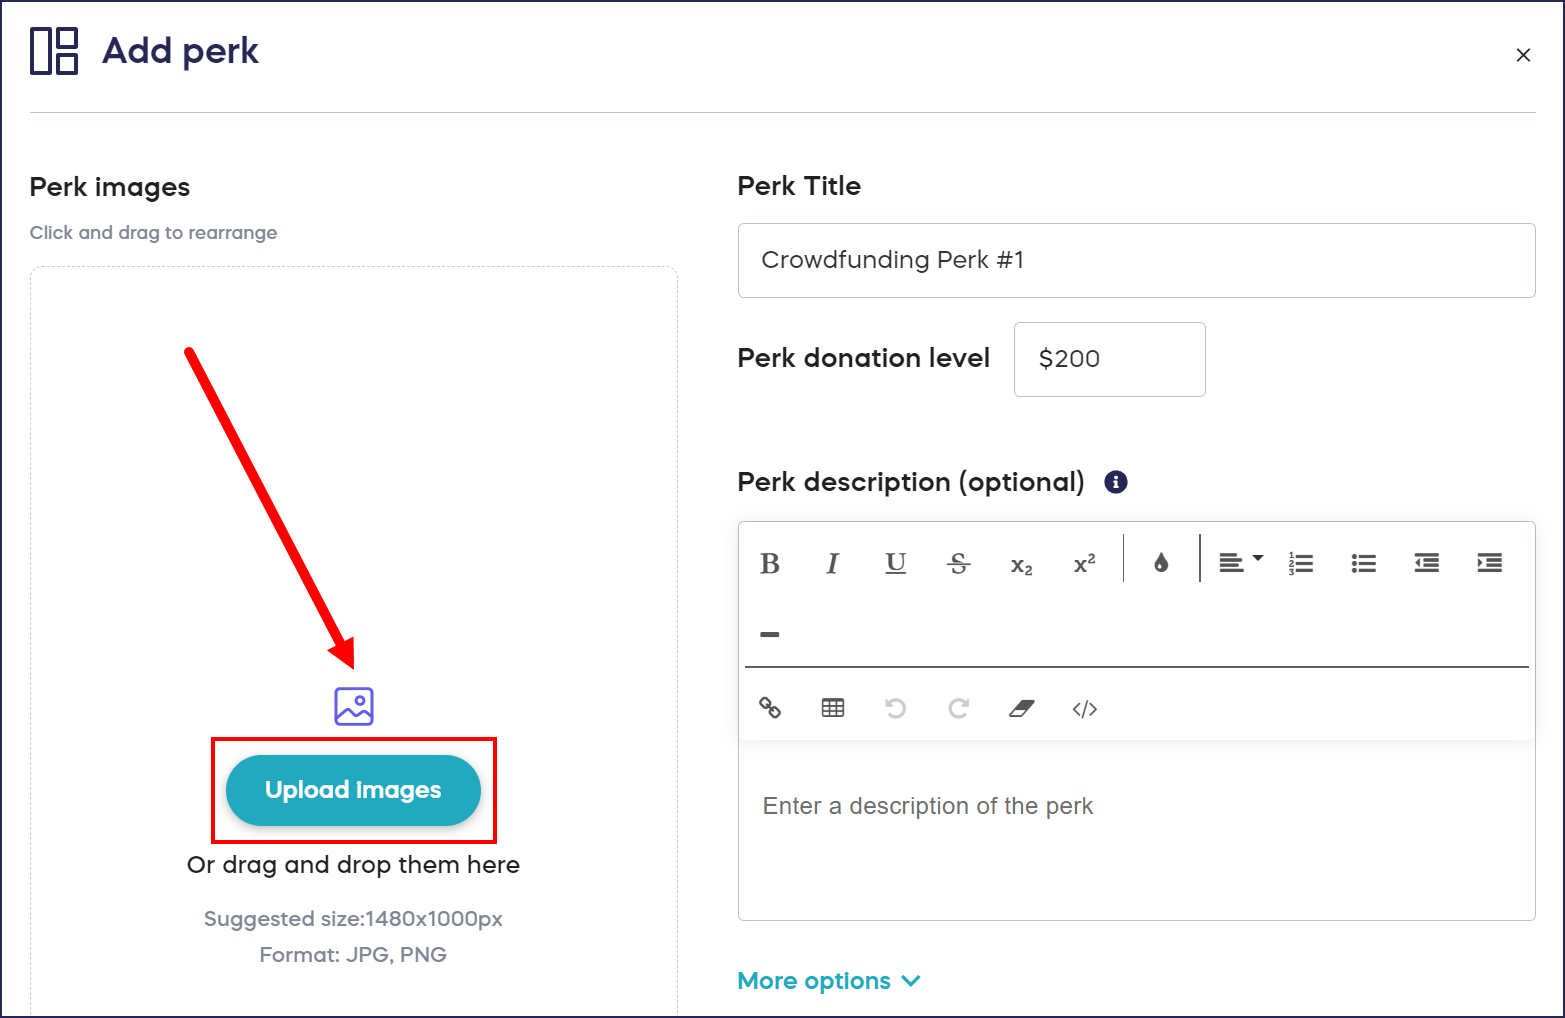
Crowdfunding Perks
The recommended image size is 1480x1000px and no more than 20 MB.
- Go to Campaigns in the left menu.
- If you have chosen a list view, click on the Campaign title. If you have chosen a grid view, click on the Campaign image.
- Select Campaign Setup.
- Go to Crowdfunding in the timeline at the top.
- Scroll down to Add perks.
- Select Create a perk, or select the Edit symbol (pencil) to add an image to an existing Perk.
- Select Upload images:
- Select an image from your files. You can also add multiple images and click and drag the images to arrange them in your preferred order. The first image will be the default display image:
When donors visit your Campaign Page, they can click on the arrows to manually scroll through all images:
- Select Save.
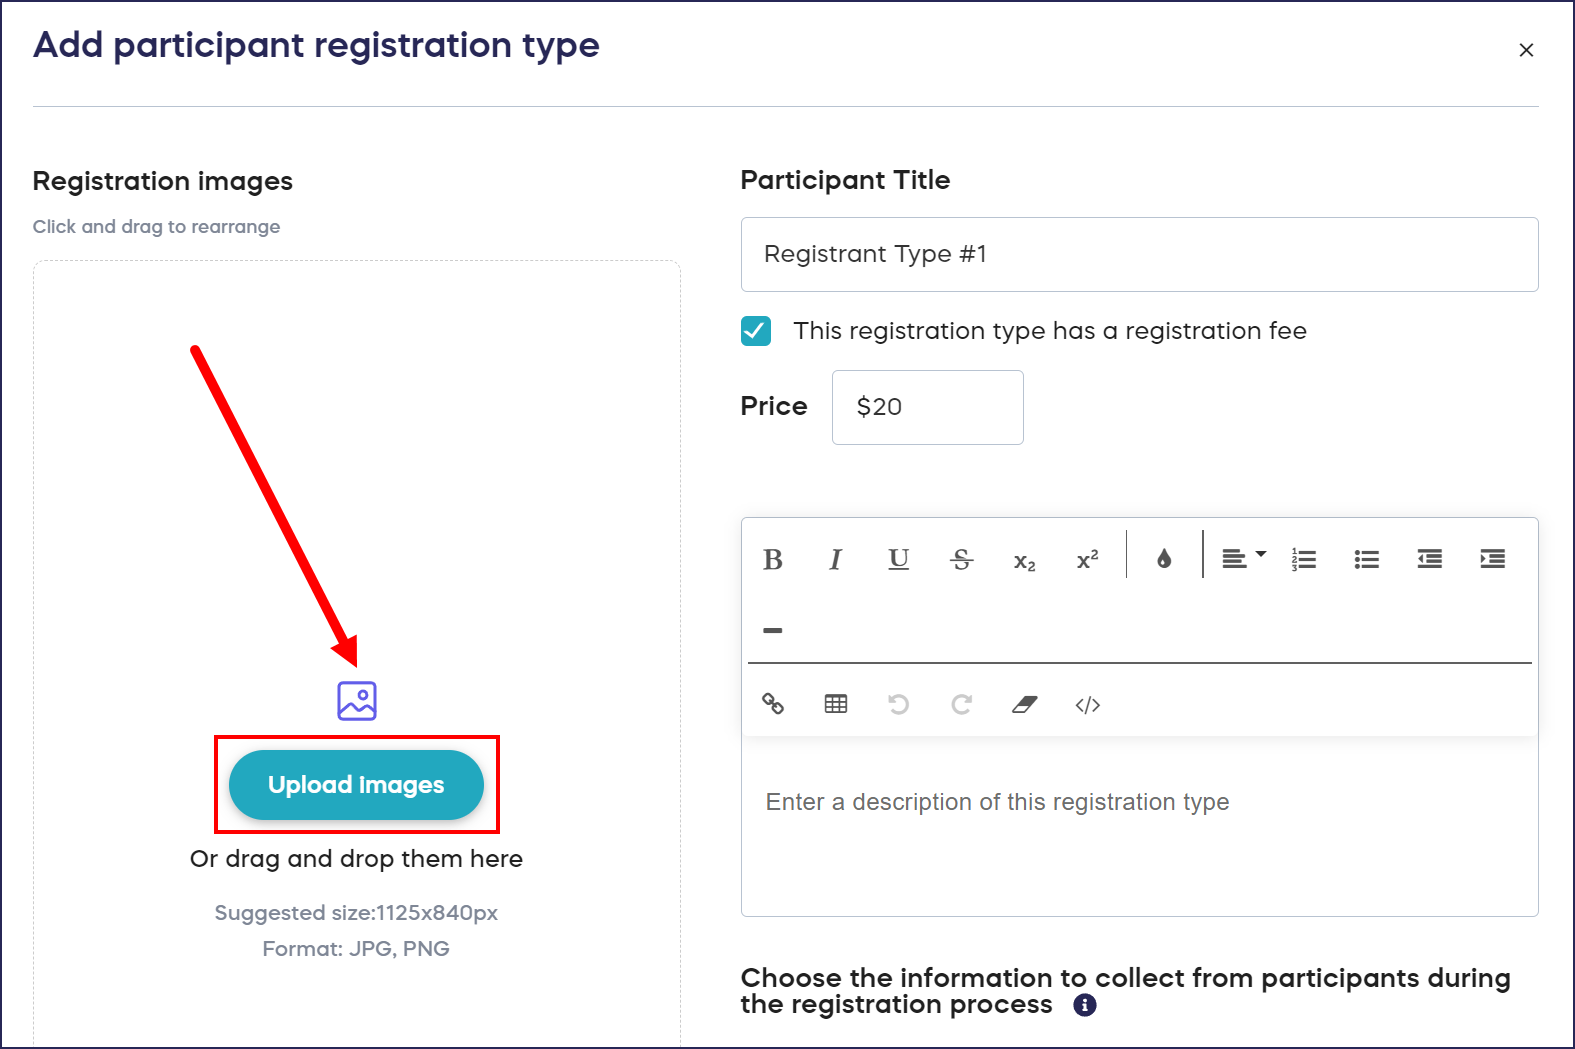
Peer-to-Peer Registration Types
The recommended image size is 1480x1000px and no more than 20 MB.
- Go to Campaigns in the left menu.
- If you have chosen a list view, click on the Campaign title. If you have chosen a grid view, click on the Campaign image.
- Select Campaign Setup.
- Go to Peer-to-Peer in the timeline at the top.
- Scroll down to Add participant/team registration types.
- Select Create participant/team registration, or select the Edit symbol (pencil) to add an image to an existing registration type.
- Select Upload images:
- Select an image from your files. You can also add multiple images and click and drag the images to arrange them in your preferred order. The first image will be the default display image:
When donors visit your Campaign Page, they can click on the arrows to manually scroll through all images:
- Select Save.
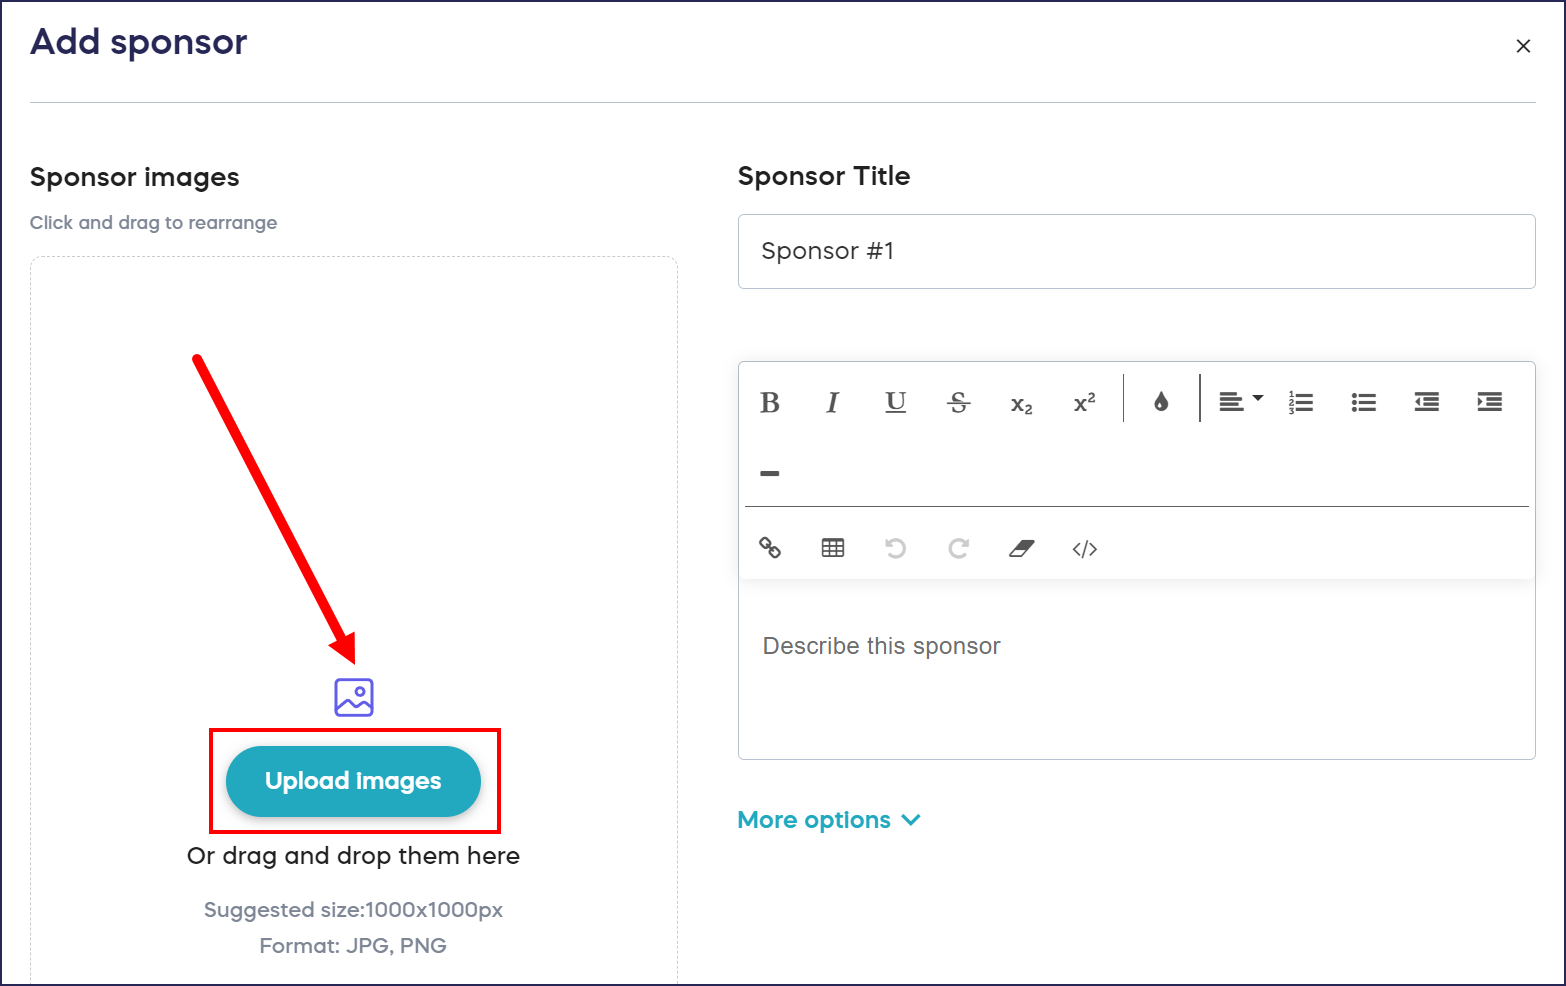
Sponsors
The recommended image size is 1480x1000px and no more than 20 MB.
- Go to Campaigns in the left menu.
- If you have chosen a list view, click on the Campaign title. If you have chosen a grid view, click on the Campaign image.
- Select Campaign Setup.
- Go to Options in the timeline at the top and select Campaign Options*.
- Scroll down to Add sponsors to your Campaign Page.
- Select CREATE A SPONSOR, or select the Edit symbol (pencil) to add an image to an existing Sponsor.
- Select Upload images:
- Select an image from your files. You can also add multiple images and click and drag the images to arrange them in your preferred order. The first image will be the default display image:
When donors visit your Campaign Page, they can click on the arrows to manually scroll through all images:
- Select Save.
Donation Page Banner
The recommended image size is 1920x560px and no more than 20 MB.
- Go to Donation Pages in the left menu.
- Select CREATE A DONATION PAGE, or select the Donation Page title to edit an existing Donation Page.
- Select Edit Donation Page.
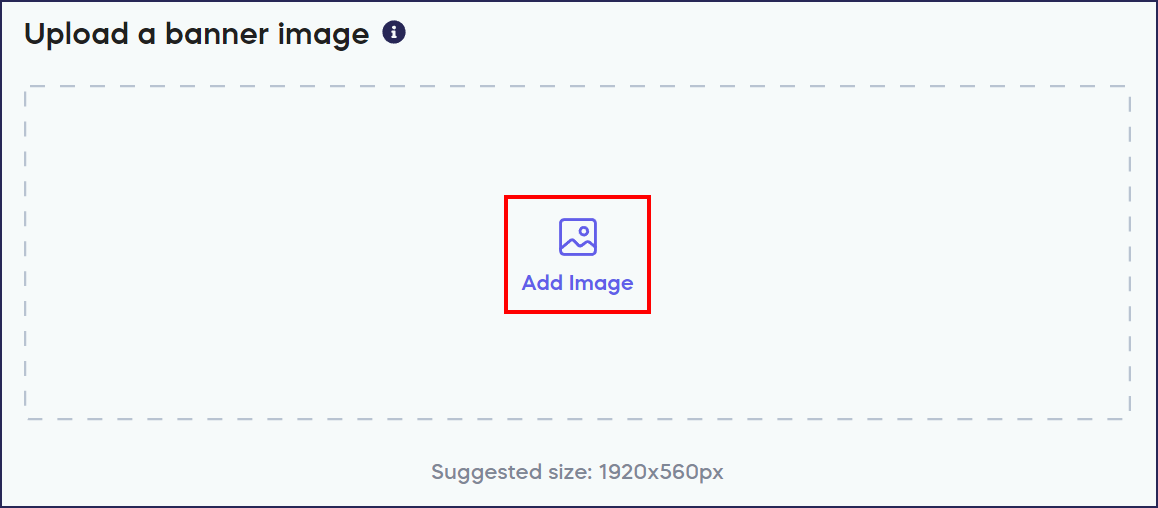
- Scroll down to Upload a banner image.
- Select Add image:
- Select an image from your files.
- Select Save.
Donation Page Fund Options
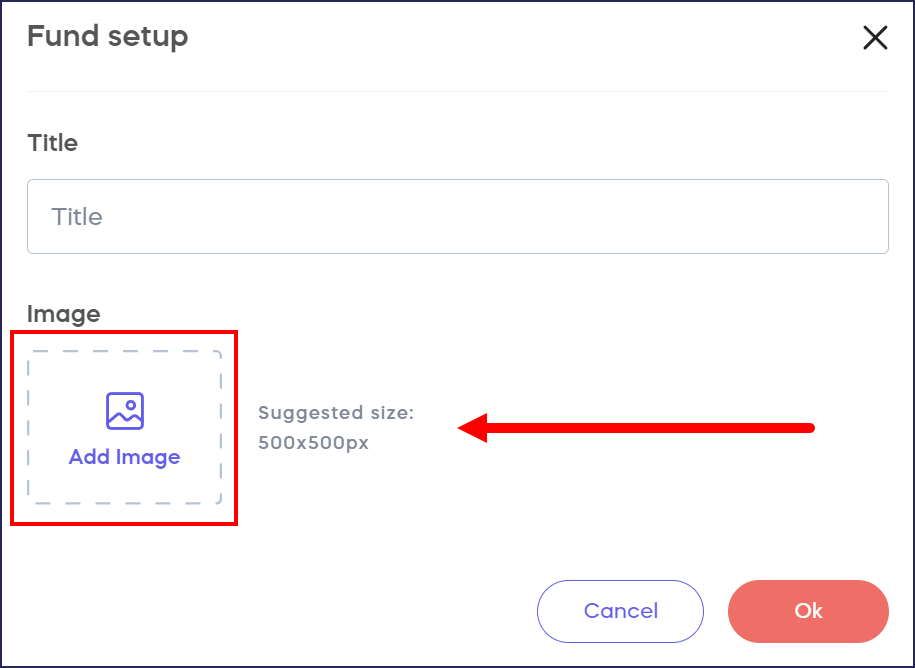
The recommended image size is 500x500px and no more than 20 MB.
- Go to Donation Pages in the left menu.
- Select CREATE A DONATION PAGE, or select the Donation Page title to edit an existing Donation Page.
- Select Edit Donation Page.
- Scroll down to Create fund allocation options. If this feature is not already turned on, do so by clicking on the toggle to move it to the right.
- Ensure that the Include images in your fund options checkbox is checked:
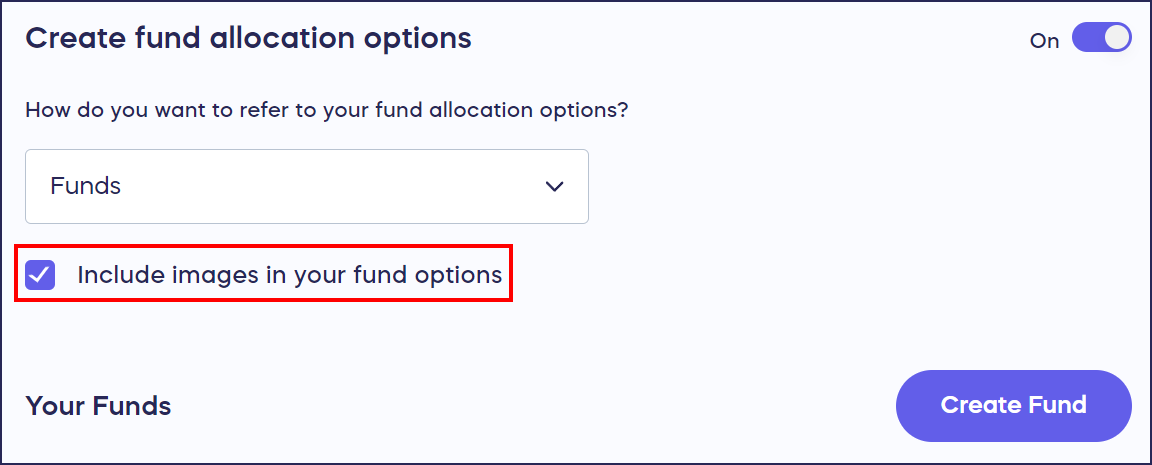
- Select Create Fund, or select the Edit symbol (pencil) to add an image to an existing Fund.
- Select Add image:
- Select an image from your files.
- Select Save.
*Terminology may differ according to Campaign settings.
Additional Knowledge Base Articles
Have more questions? Submit a ticket