How-to: Create a Widget for Your Campaign or Donation Page
Add a widget for your Campaign or Donation Page on your organization website.
After your Campaign or Donation Page is live, you can create a widget and add it to your organization website using the Create Widget tool. Visitors to your website will be able to use this widget to:
- View a brief description of your Campaign or Donation Page
- Click a button that takes them directly to your Campaign or Donation Page
Create a Widget
- Go to Campaigns or Donation Pages (under Settings) in the left menu.
- If you're making a widget for an Campaign, click on the Campaign title (list view) or Campaign image (grid view). If you're making a widget for a Donation Page, click on the Donation Page title.
- Select Create Widget.
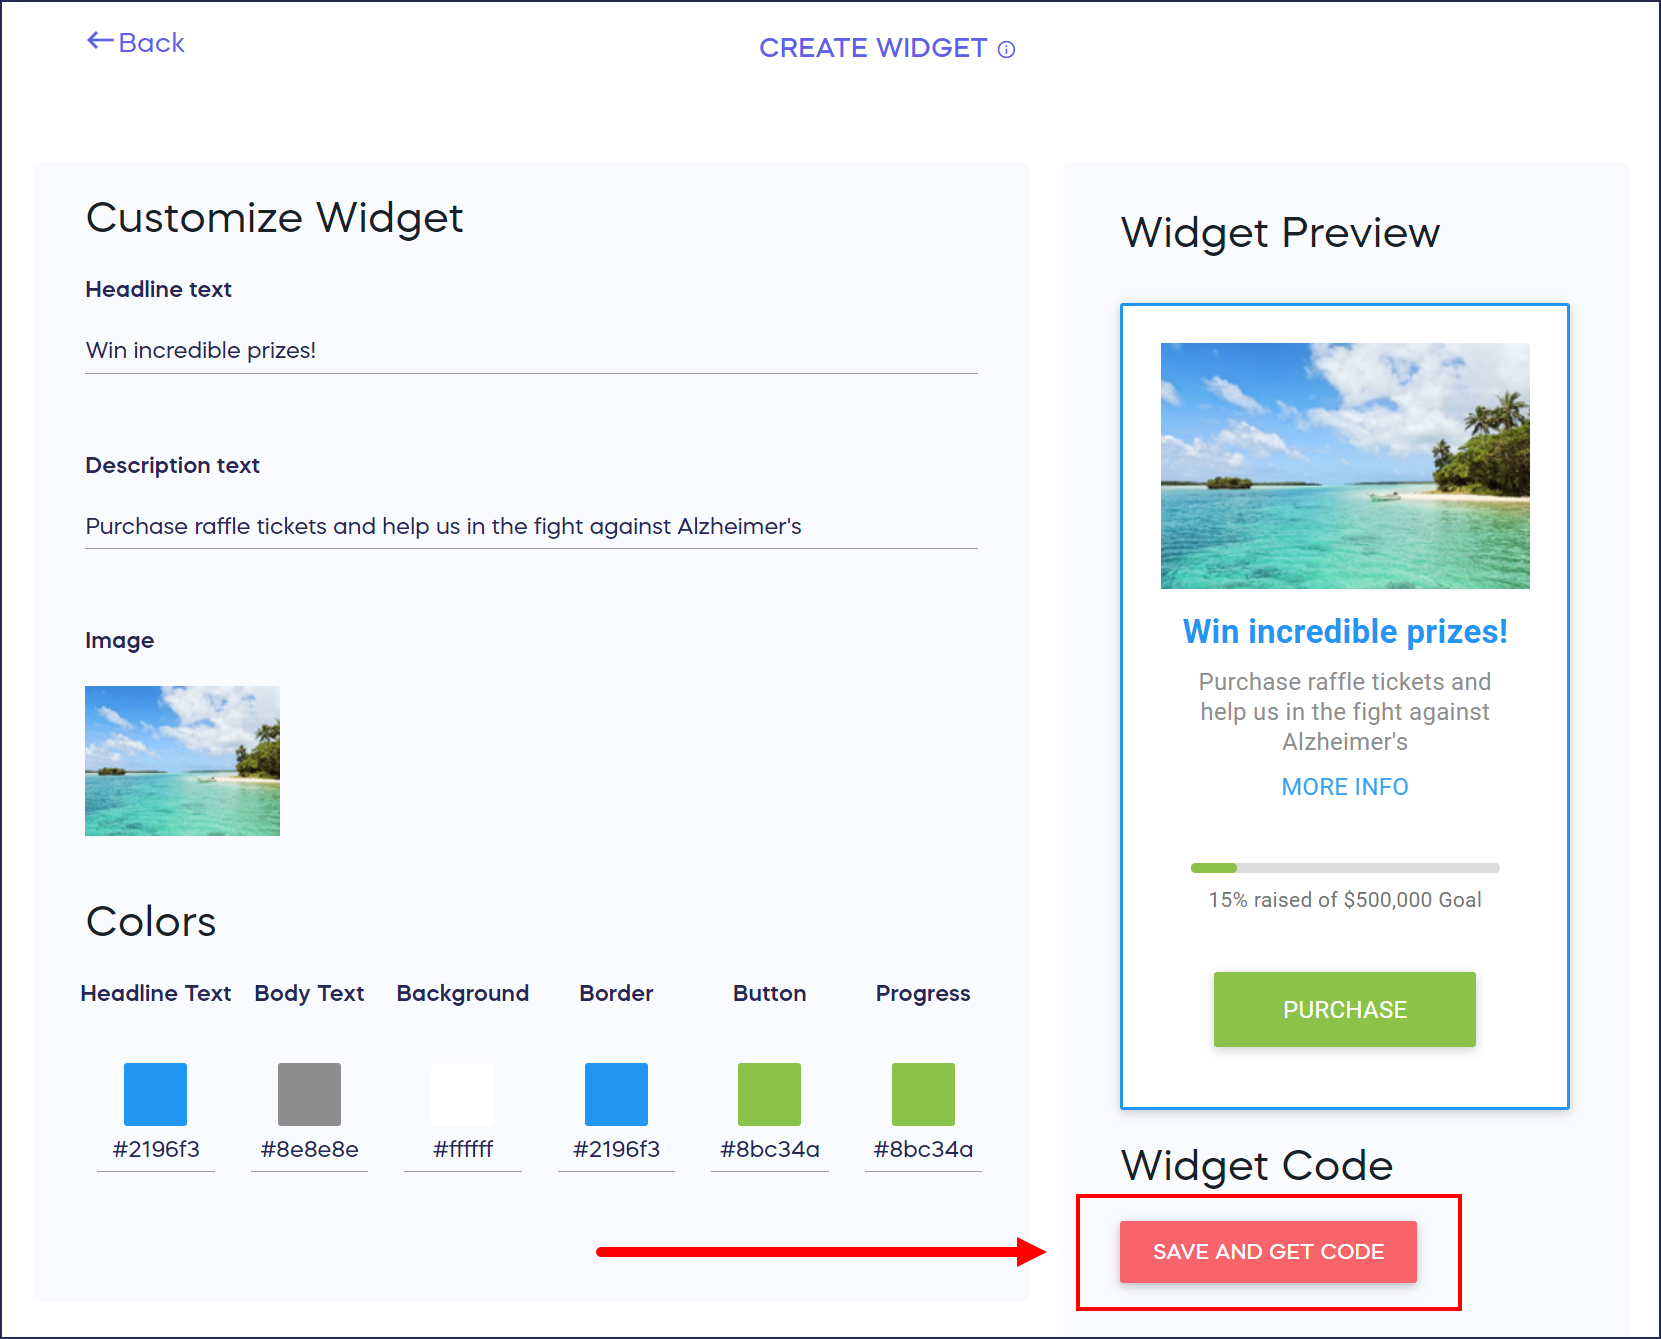
- Customize the text and colors of your widget:

- Select SAVE AND GET CODE:
Good to Know
- Once you've downloaded the code for your widget, don't make any changes to the code or it won't work properly. If you update any of the widget settings, you'll also need to redownload the code.
- If you need assistance adding the widget to your organization website, contact your website provider for further instructions.
Have more questions? Submit a ticket